A Guide to Preparing Your Walls For Painting
Interested in residential painting? Here's how you can prep your space.

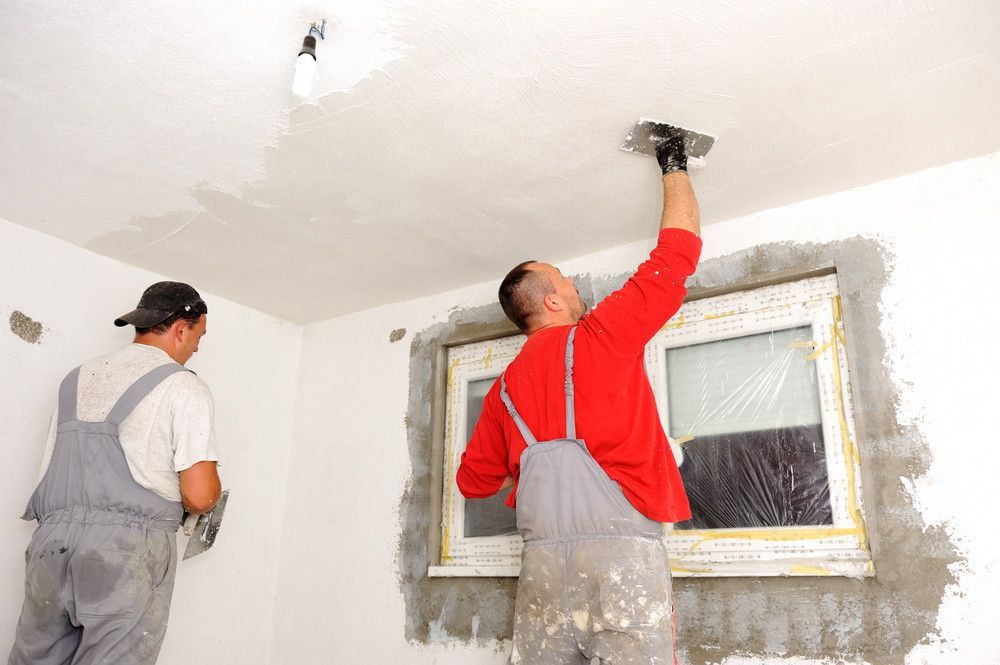
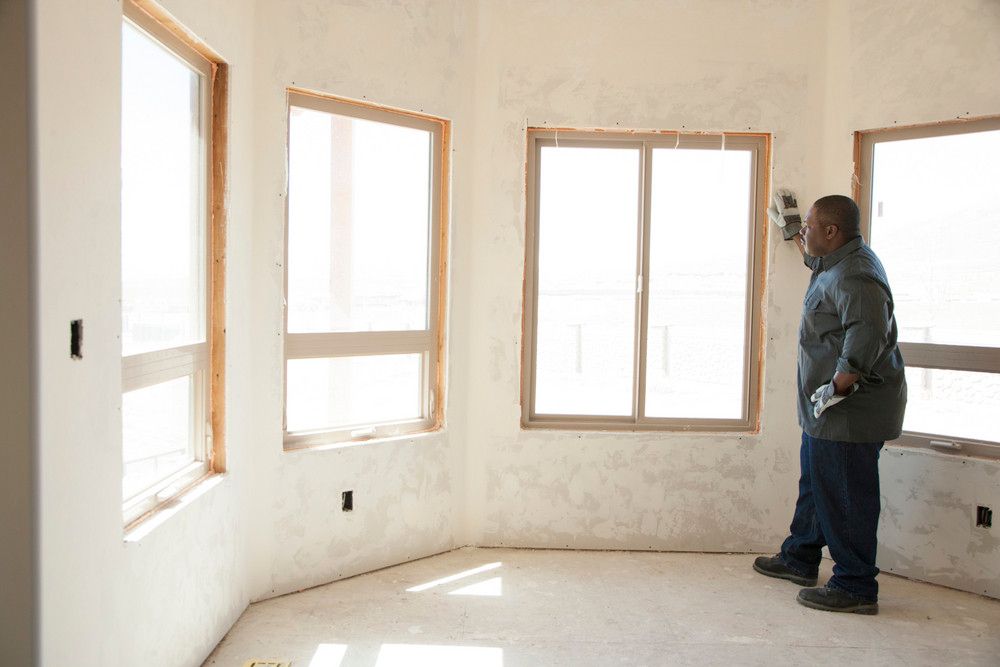
Before beginning your residential painting project, you will need to ensure your walls are properly prepared. This includes cleaning, sanding, and priming. Every inch of every wall may not require these steps for preparation, but it is important to inspect your walls before painting and determine what surfaces need treatment.
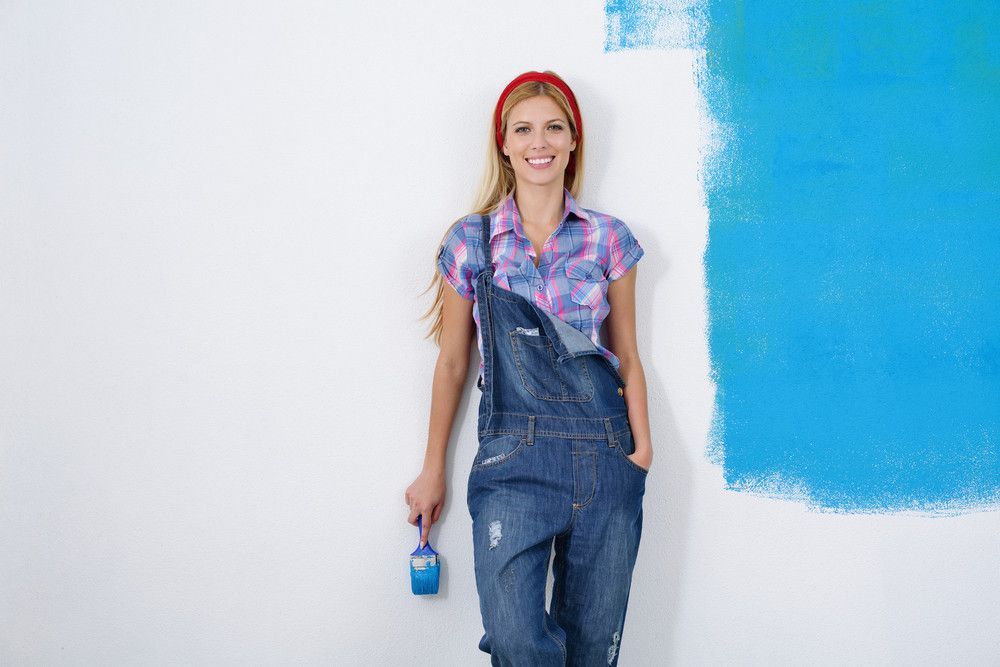
Painting your home can be a daunting and time-consuming task. If you do not have the time or the capacity, consider hiring residential interior painting services.
Cleaning Walls
Cleaning your walls is possibly the most important step in preparing a room for painting. Most walls can be adequately washed with a sponge, soap, and water. For walls that may be grimy or oily, such as kitchen walls, use a mixture of water and grease-fighting dish detergent. Next, use clean water to remove any detergent that may have been left behind and finish by wiping with a moistened cloth.
Before applying any paint or primer to your walls, ensure they have dried completely. If you paint your walls while they are still damp, a number of serious issues could occur -- blistering, for example, which is when the paint bubbles from underneath.
Removing Mildew
Regardless of whether you are painting your living room or basement, any mildew must be removed beforehand. If painted over, mildew will simply grow through the coat of paint, making eventual maintenance and cleaning a huge hassle. For this process, ensure you have the proper protective gear, including goggles, gloves, and a mask. Mildew is not as harmful as mold, but can still cause respiratory problems or allergic reactions.
Mildew can be removed or cleaned with a mixture of one part bleach to three parts water. After applying the solution to the walls with a sponge, let it sit for three to four minutes, and then scrub the area with a soft brush. Finally, rinse all affected surfaces with clean water.
Sanding Walls
Sanding is not necessary for every residential painting project. However, if your walls have bumpy or rough spots, they need to be sanded down. Use a sanding block or sandpaper to smooth out any uneven surfaces and then wipe away dust with a moistened cloth. Allow your walls to dry thoroughly before painting. These steps will allow the paint to be applied smoothly and evenly.
If your paint job is in need of a touch-up, you can use a can of paint you have lying around. If it is stored properly, a can of paint lasts anywhere from three to five years.
Priming Walls
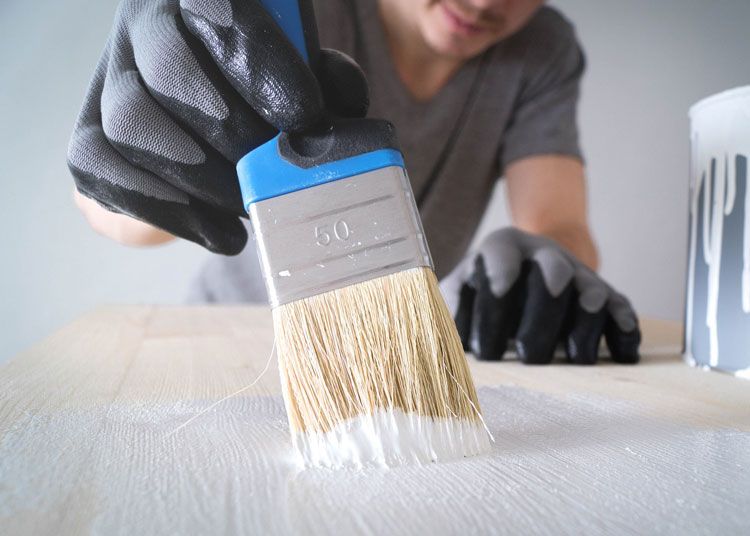
Applying primer to residential drywall provides a foundation for the paint. Primer is especially necessary if your walls are stained or porous. A primer will hide any faults, blemishes, or any undesirable features of your walls and create a smooth surface for your paint, ensuring a beautiful uniform finish. There are specific primers for mostly every painting project, including ones with a drastic change in color.
Preparing your walls for painting is a crucial step in a residential painting project. To get the job done right, find a local residential interior painting company for the necessary products and services.
Share:
Search:
Recent Posts