Drywall: A Guide on How to Install and Repair It
Drywall is an attractive finishing option for residential construction. Whether you are installing or need to repair your residential drywall, check out this how-to guide.
Want to add an excellent touch to your interior? Consider getting a residential drywall installation. Whether on the walls or the ceiling, drywall is the most common finishing option due to its elegance and easy maintenance.
Drywall comes from a mixture of calcium sulfate dehydrate and other additives and extruded through thick sheets of paper to form planks. However, due to its nature, drywall is prone to damage. When this occurs, drywall services such as residential painting come in handy. This article will explore residential drywall installation steps and repair options.
Installing drywall is not complicated and can, at times, be done without involving a professional. The installation process involves:
Selection
Choosing The Sheet Size
Drywall sheets come in a variety of sizes. Choose a size that minimizes the number of seams appearing on the finished work, preferably 4 x 8 feet.
Larger sheets are harder to work with and require a professional installer and an extra hand. They are also prone to such damage as breaking during transportation.
Choosing the Thickness
Drywall thickness ranges from 1/4 to 5/8 inches. 1/2-inch walls are the most common, while 1/4 inch overlays are ideal for existing drywalls.
Consider the Composition of the Drywall
Ensure the drywall you select corresponds to the composition requirements of the area you wish to install it in.
Wet areas such as bathrooms and garage require moisture-resistant products such as green rock drywall and glass-reinforced cement.
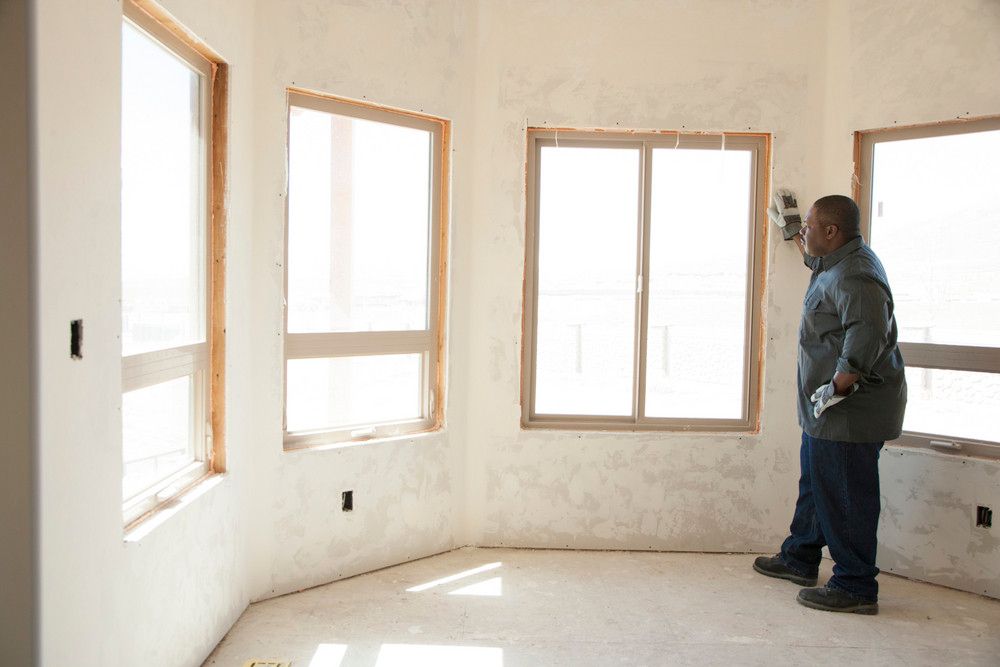
Wall Preparation
Prepare the wall by removing damaged drywall, screws, and anything else that would hamper the installation of the new drywall.
Repair any visibly damaged parts, e.g., by termites or moisture, and use waterproof foams to seal off cracks.
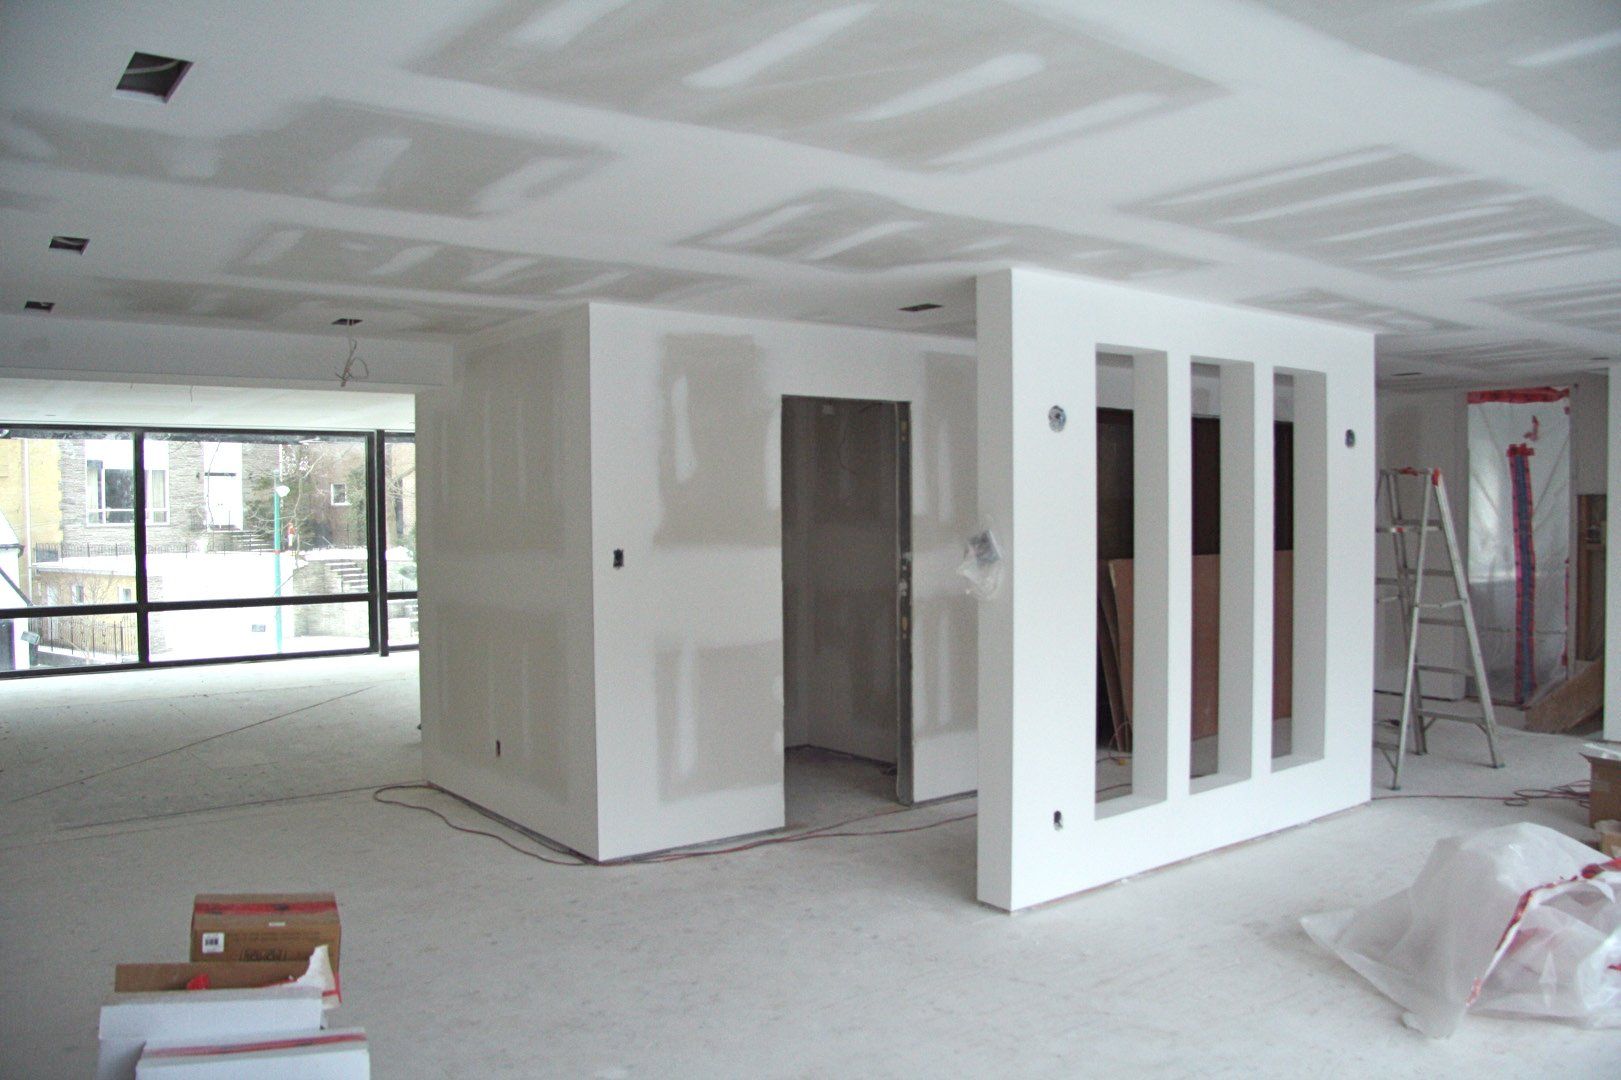
Installation
Carefully measure the drywall from the corner to a joint. Screw the end parts to a joist.
Run the screws across each piece of drywall in a single line, preferably 5 screws, into a single joist. The screws shouldn’t be too deep to cause damage. The gluing and screwing continues until the complete sealing of the wall or ceiling. Cut any hanging parts over the windows and doors.
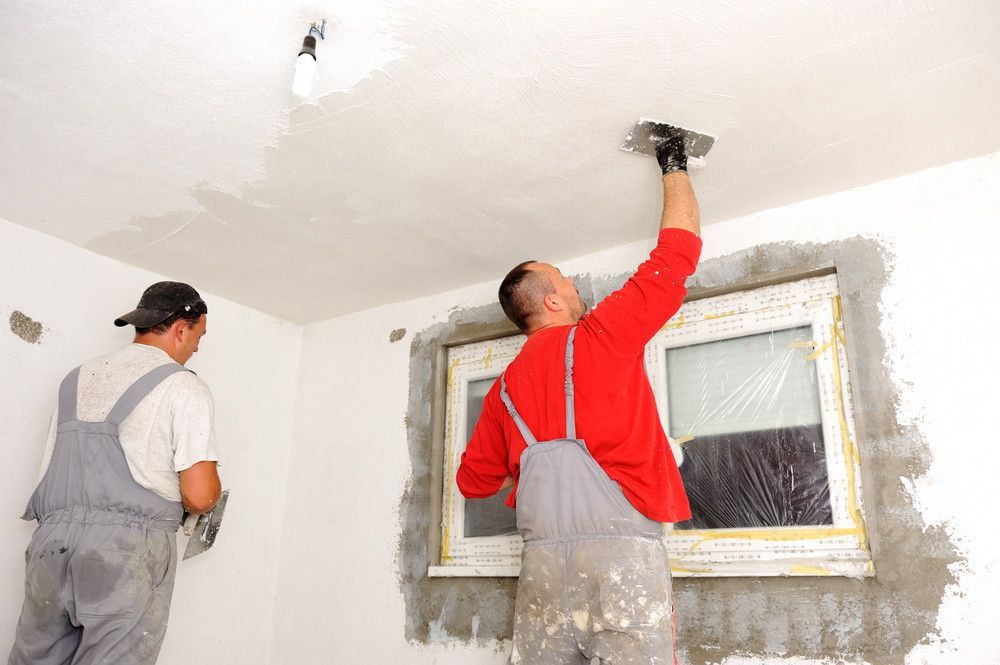
Mix drywall mud with cream and apply the first coat. This step doesn’t have to be perfect. The idea is to apply liberal amounts of the mud.
Use a presoaked tape on the drywall joints with the first coat of the drywall mud. Perforated and fiber tapes are often not a good option as they don’t produce a flawless finish, and they require extra mudding and sanding.
Consider applying the second and third coating, thinner coats, preferably with a one day allowance between layers for proper drying.
Sanding and Finishing
Pole sanders and drywall sandpaper come in handy here. This step aims to achieve a smoother surface and eliminate flaws. Avoid over-sanding. In case you accidentally do, apply more mud and resand when it dries.
The next step involves careful dusting of surfaces to prepare for interior painting. The walls undergo washing in preparation for drywall primer application. Drywall absorbs primer, thus requiring many coats.
After the primer dries, you might want to consider light sanding and dusting for an exceptional finishing.
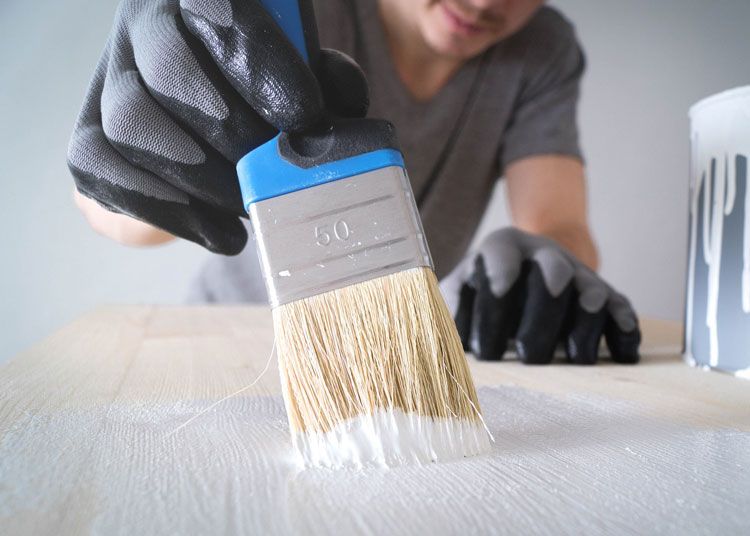
Painting then follows. Durable paints are suitable for frequently accessed rooms like bedrooms and kitchen. The residential interior painting company you are working with should advise on the type of paints and budget.
Residential Drywall Repair
Even after successful installation, sudden temperature changes and other factors can damage the drywall. Some of this damage may be light or barely noticeable while some of it might call for urgent repair. Some of this damage you cannot ignore includes:
- Water damage, such as molds, from broken pipes, and leaking roofs.
- Smoke damage or burns from fire accidents.
- Sagging drywall ceiling.
If you notice any of these types of damages, it is advisable that you get in touch with a residential drywall services provider and have them fixed immediately.
In Need of a Professional Residential Drywall Installation?
Drywall is an attractive finishing option for residential construction. The correct installation procedure saves you time and cost. Regular and on-time repairs prevent further damage and health-related risks.
Share:
Search:
Recent Posts